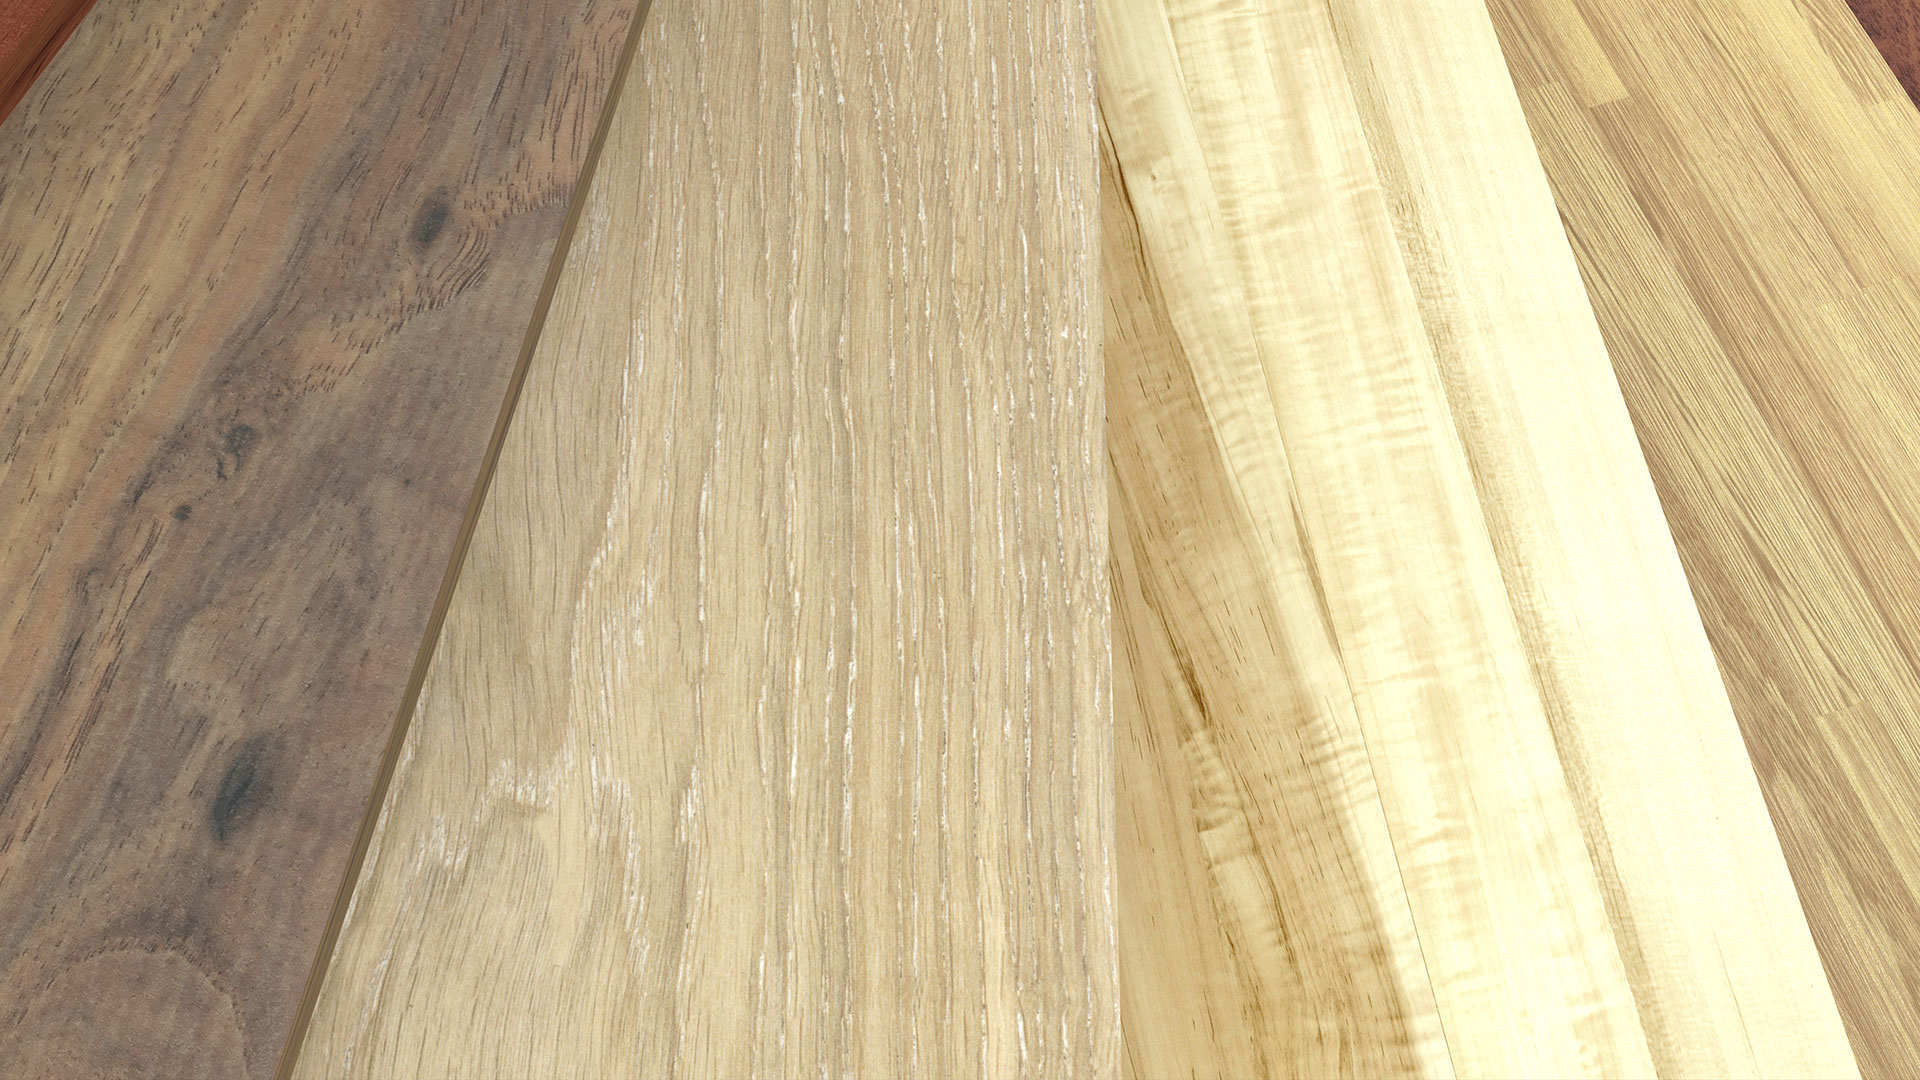
If you’re considering choosing a floor for your home, the term “PVC” or “polyvinyl chloride” must have come up during your research. The first thing you need to know about PVC is that it is a synthetic plastic polymer known and used for its durability, which is why it is widely used as a flooring material. Vinyl floor tiles are commonly used in high-traffic areas because they can withstand high pressure.
PVC Flooring is available in my types and styles, some are best for colder climates due to their insulating properties and some are ideal for hot and humid locations due to their resistance to moisture and drastic temperature changes. Below is a guide for you to effectively install vinyl flooring and decide how to do it.
PVC flooring is easily available and if you choose this option for your home, you are on the right page. From the tools you need to the finishing touches, this guide to installing vinyl flooring will help you, especially if you’re doing it yourself.
THINGS YOU NEED TO LAY PVC FLOOR EASY GUIDE
You can easily make the PVC floor of your house yourself, but it requires a certain level of precision to get it right. Below is a detailed guide on how to properly make a PVC floor.
First: Buy the material for laying the PVC floor. You need to buy a PVC cover roll and a special vinyl adhesive. You will also need a pencil, ruler, tape, paper cutter, toothpick, and knife or rolling pin.
LAY YOUR PVC FLOOR ON A CLEAN SURFACE
The surface to be covered must be clean. Roll out your PVC sheeting to completely cover the floor and a small part of the walls, about 5 centimeters. The remaining vinyl tiles can be added to the walls, giving the room the right finish.
STICK YOUR PVC
Clean the floor that needs to be covered with a new floor. It is best to start with one portion at a time. Use a trowel to coat the floor with a special adhesive in circular motions. Allow the product to dry for about 15 to 60 minutes (or as directed on the package).
After the time is up, start laying the PVC tiles, planks, or boards, depending on what you are using. To avoid bubbles, level the freshly applied coating or wipe the knife, from the center to the ends. Repeat these steps for other parts of the floor.
FINISHING
After you’ve finished layering the floors, it’s now time to cut the tiles or wall panels to give you the final finish. Now follow the same process of cleaning and painting the walls to create a neat border with the floor material. Using a spatula, press each of these pieces down firmly.
Now you need to let the floor dry for several hours (usually 48 hours) to allow the glue to dry. Do not rearrange your room until you are sure that the floor is properly attached to the ground.


